マルチポジション・ショックタワーキット “MPST”の取り付け方法
* English sentences come after Japanese.
WdwC RCのマルチポジション・ショックタワーキット “MPST” の取り付け方法を紹介します。
製品についての詳細はこちらのページをご覧ください。
Installation Guide for WdwC RC Multi-Position Shock Tower Kit “MPST.”
フロントショックタワーの取り付け / Front Shock Tower Installation
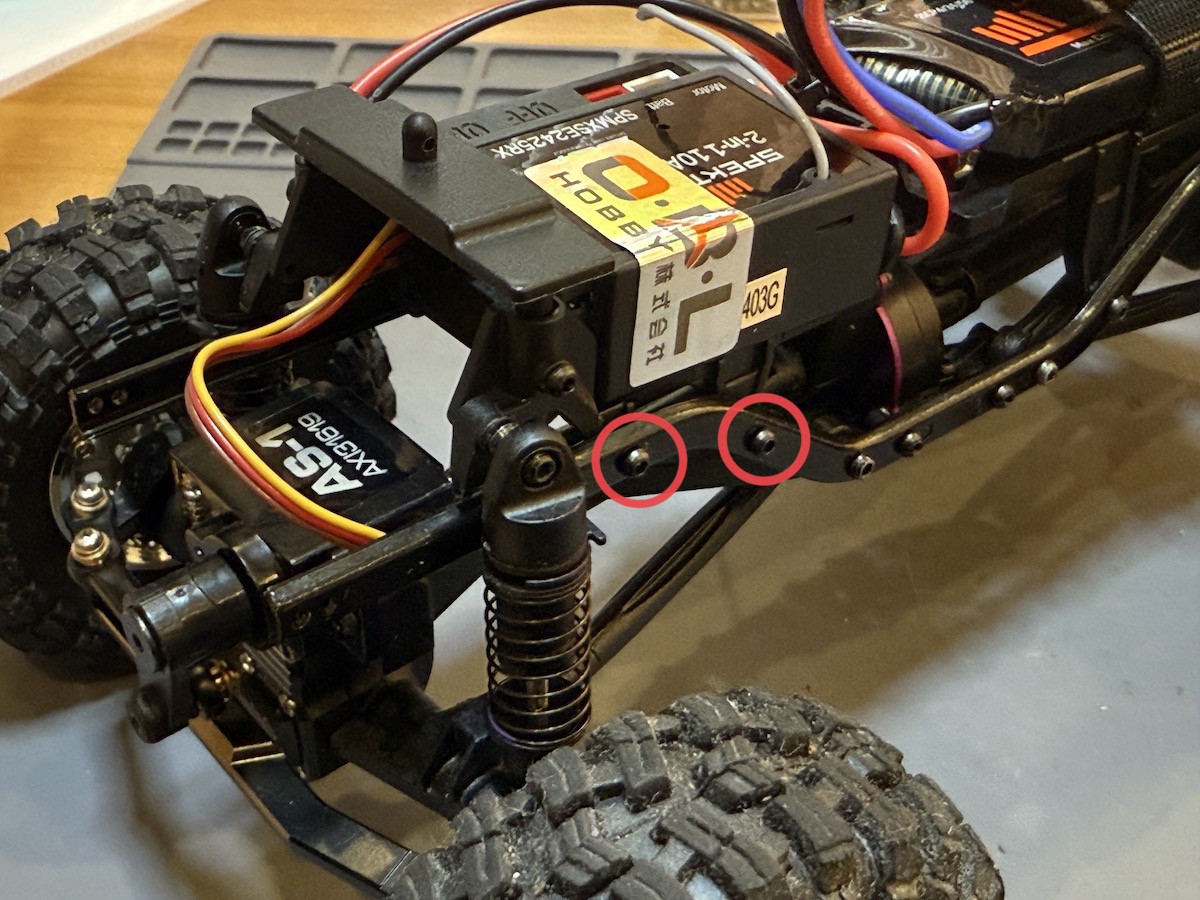
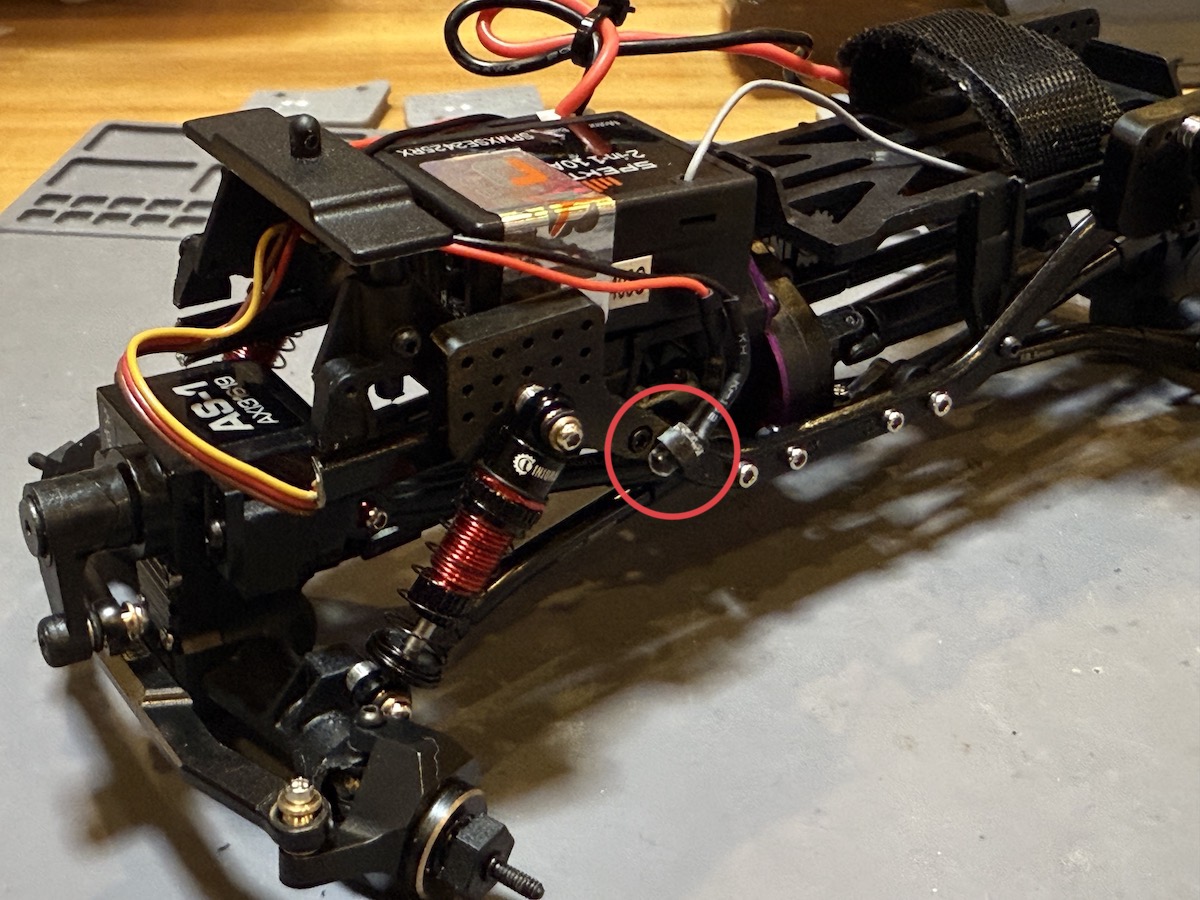
ESCトレイを固定している4本のネジで共止めします。
Secure the front shock towers using the four screws that hold the ESC tray.
純正ネジではなく、付属のM1.4 x 6mmネジに交換して取り付けて下さい。
過度なトルクで締めすぎないようにご注意下さい。
Replace the stock screws with the included M1.4 × 6mm screws.
Be careful not to overtighten.
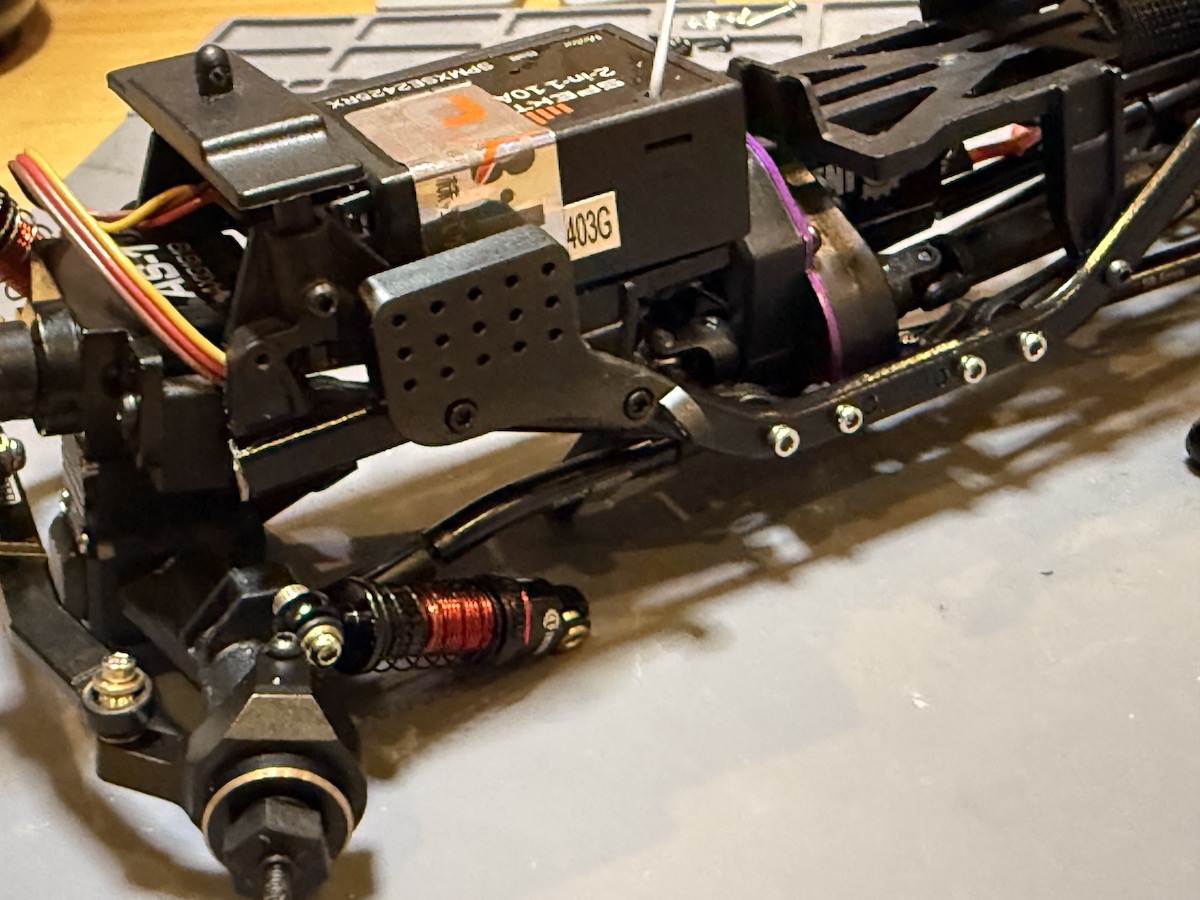
リアショックタワーの取り付け / Rear Shock Tower Installation
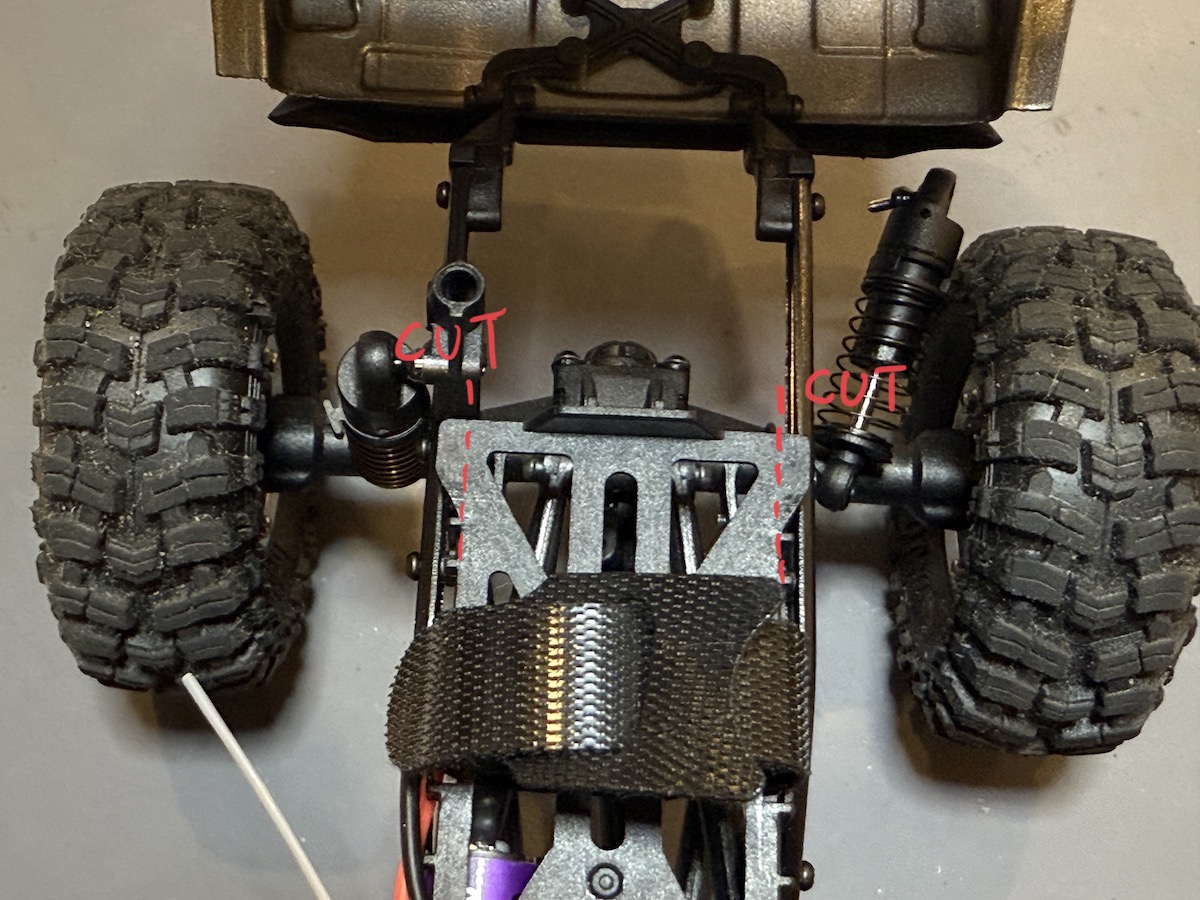
バッテリートレイの一部が干渉するので、ニッパーで切り取ります。
Part of the battery tray will interfere, so trim it with nippers.
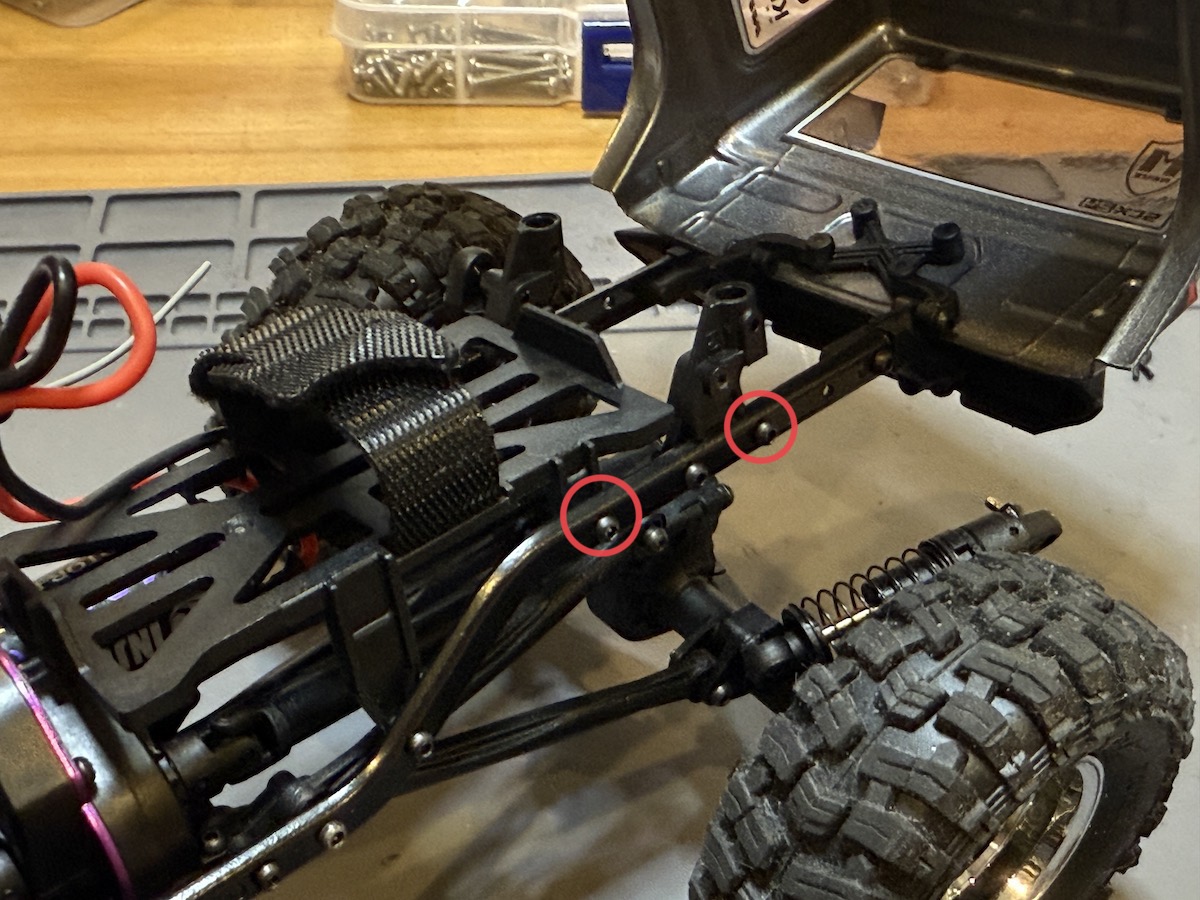
バッテリートレイと純正ショックタワーを固定しているネジ穴を使って取り付けます。
純正ショックタワーは使いません。
Use the screw holes that secure the battery tray and the stock shock towers for installation.
The stock shock towers are not used.
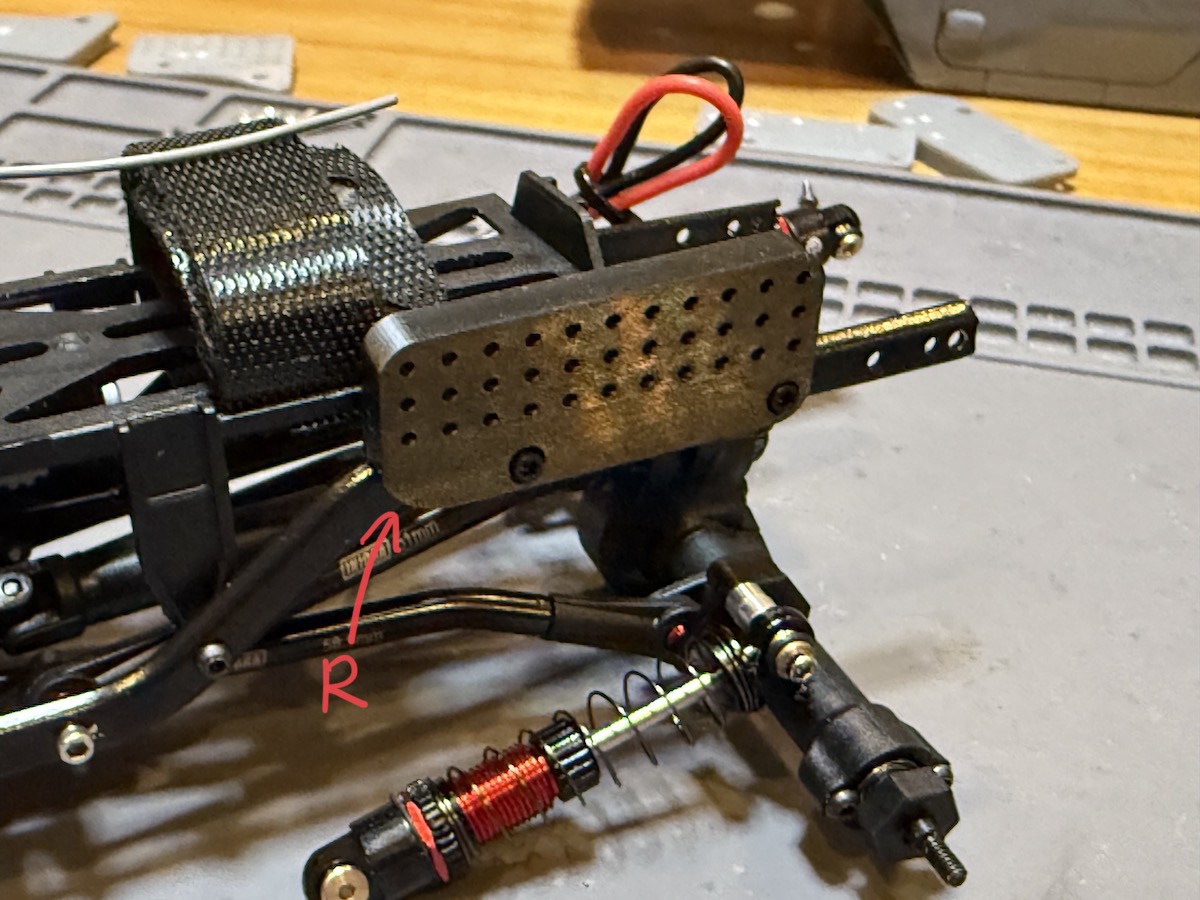
リアショックタワー下部の「R」が前側に来るのが正しい向きです。
こちらも付属のM1.4 x 6mmのネジに交換して固定します。
Make sure the “R” marking at the bottom of the rear shock tower faces forward for correct orientation.
Again, replace the stock screws with the included M1.4 × 6mm screws.
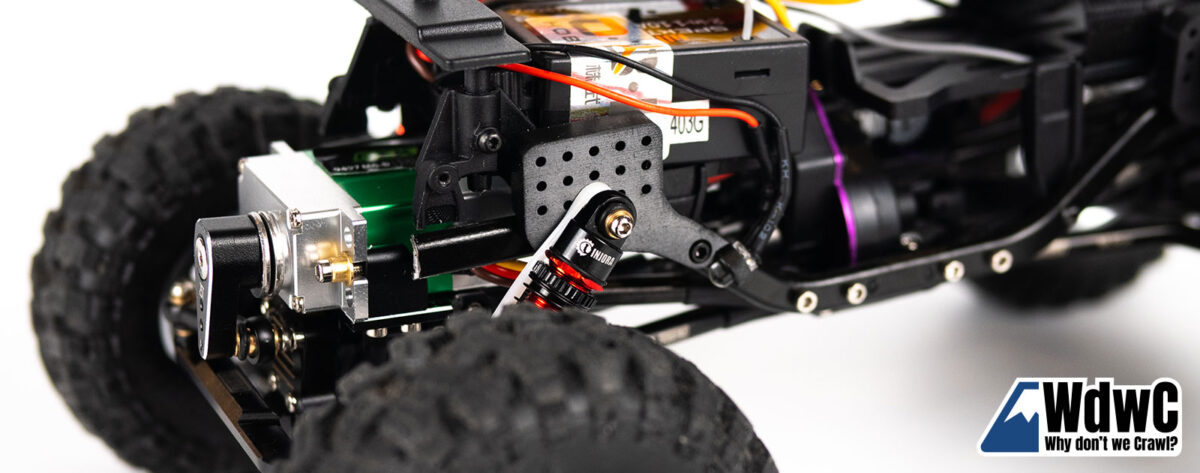
ダンパーの取り付け / Damper Installation
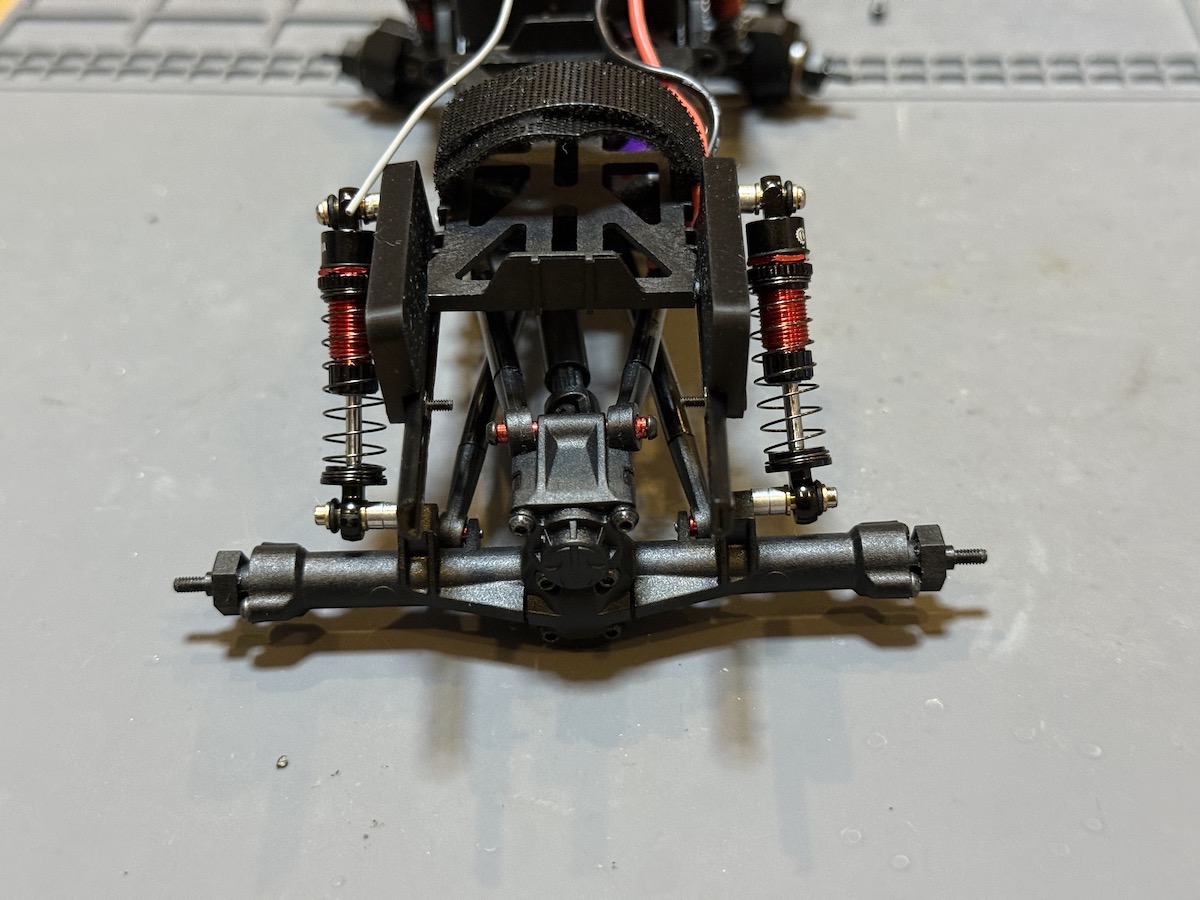
ダンパー取り付け位置が純正のショックマウントポジションよりも2mm外側に変わりました。
ダンパーが真っ直ぐな位置になる分のスペーサーを追加して取り付けます。
スペーサーは社外ダンパーに付属しているものなどを利用します。
The shock mounting position is shifted 2mm outward compared to the stock mount.
Add spacers so that the dampers are mounted straight.
Use the spacers included with aftermarket dampers or similar ones.
LEDの取り付け / LED Installation
LEDはブラケットに差し込むだけです。
外れてしまうのが気になる方は接着剤で固定して下さい。
上の写真はノーマルバンパーに装着されていたLEDを流用しています。
Simply insert the LEDs into the brackets.
If you are concerned about them coming loose, secure them with adhesive.
The example photos show the stock bumper LEDs being repurposed.
マルチポジション・ショックタワーキット “MPST”のご購入はこちら

マルチポジション・ショックタワーキット “MPST”は、WdwC RCオンラインストアよりご購入頂けます。
WdwC RCオンラインストアはこちら
SNSではブログに書いていないこともほぼ毎日投稿しています
チェック & フォローよろしくお願いします
インスタもXも@gegezo821です