SCX30 トラックコンバージョンキット “JLUB”の取付方法
* English Description comes after Japanese.
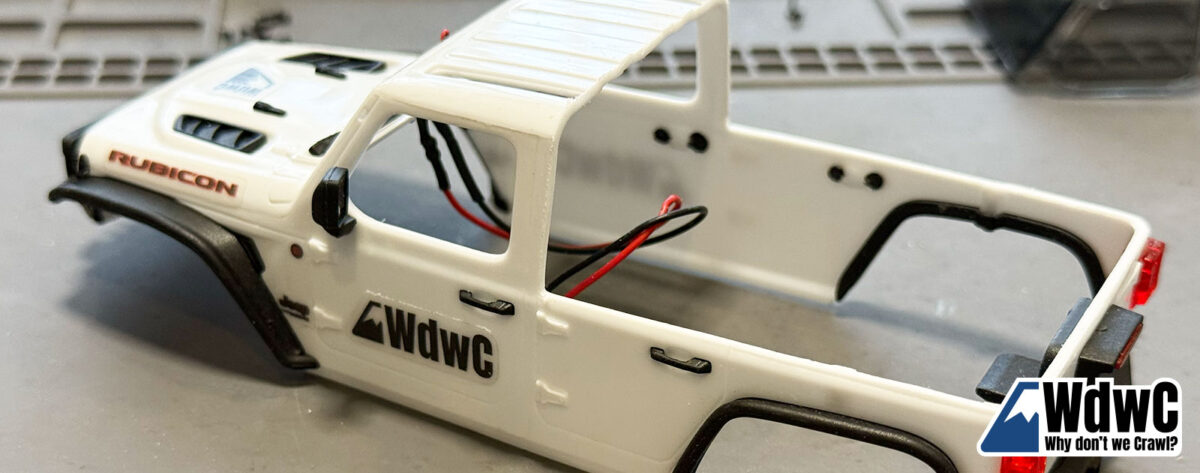
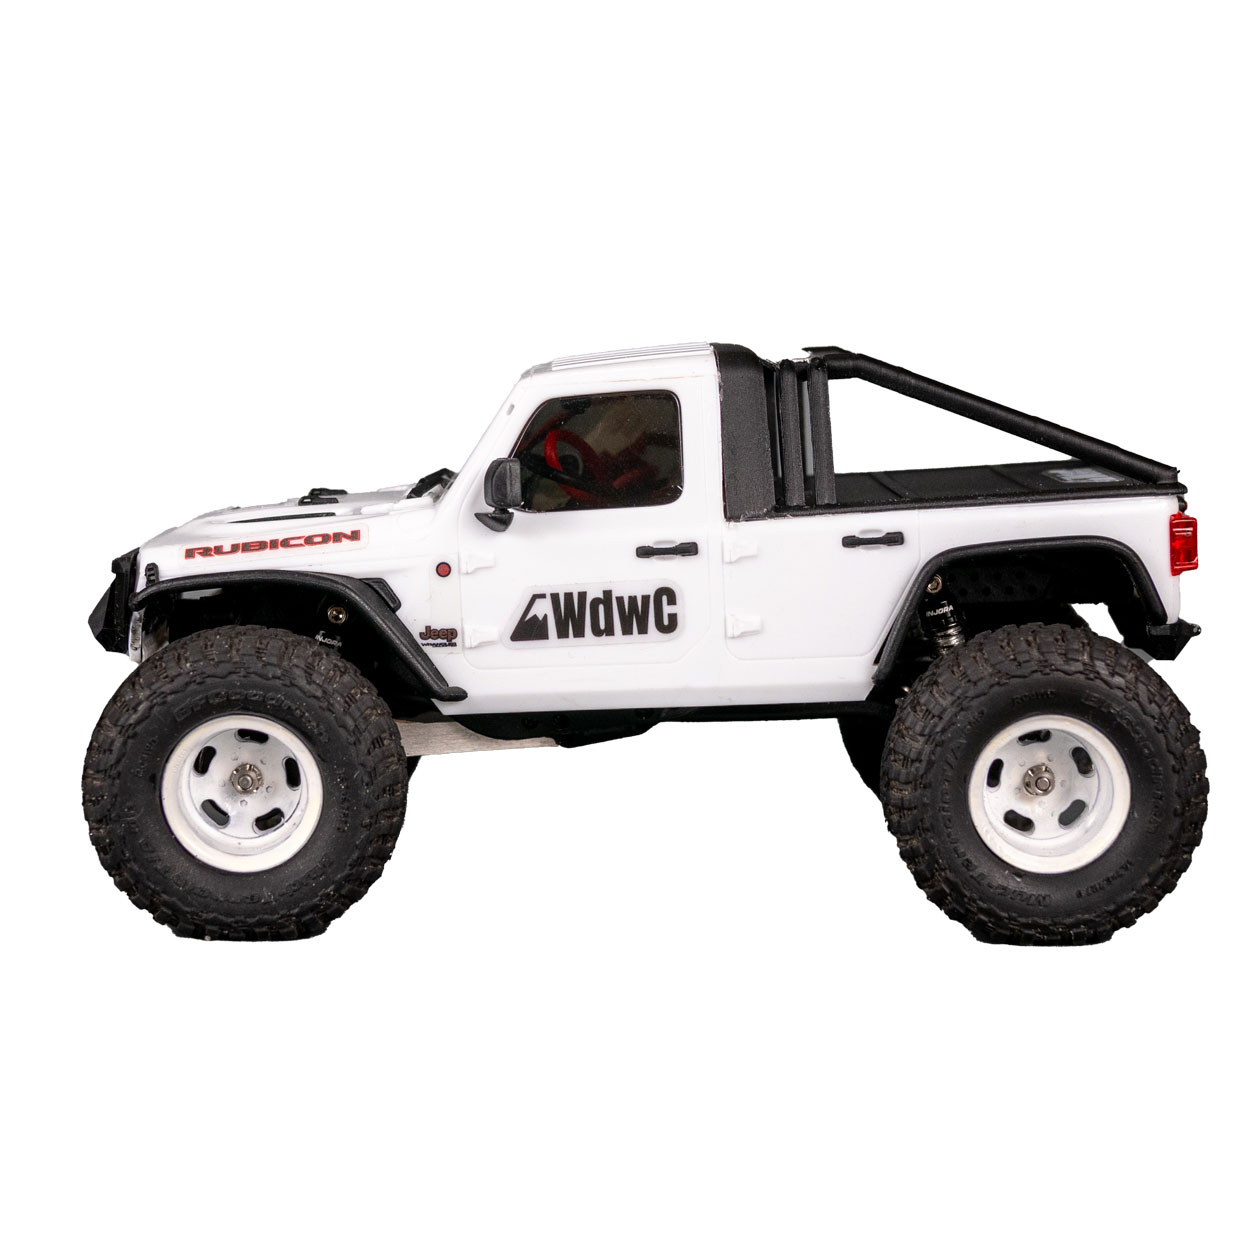
SCX30 Wranglerボディ用トラックコンバージョンキットの取付方法をご案内します。
ボディの加工前にコンバージョンキットの塗装を終えてしまうのがおすすめです。
This guide explains how to install the truck conversion kit for the SCX30 Wrangler body.
It is recommended to finish painting the conversion kit before modifying the body.
ボディの加工 / Body Modification
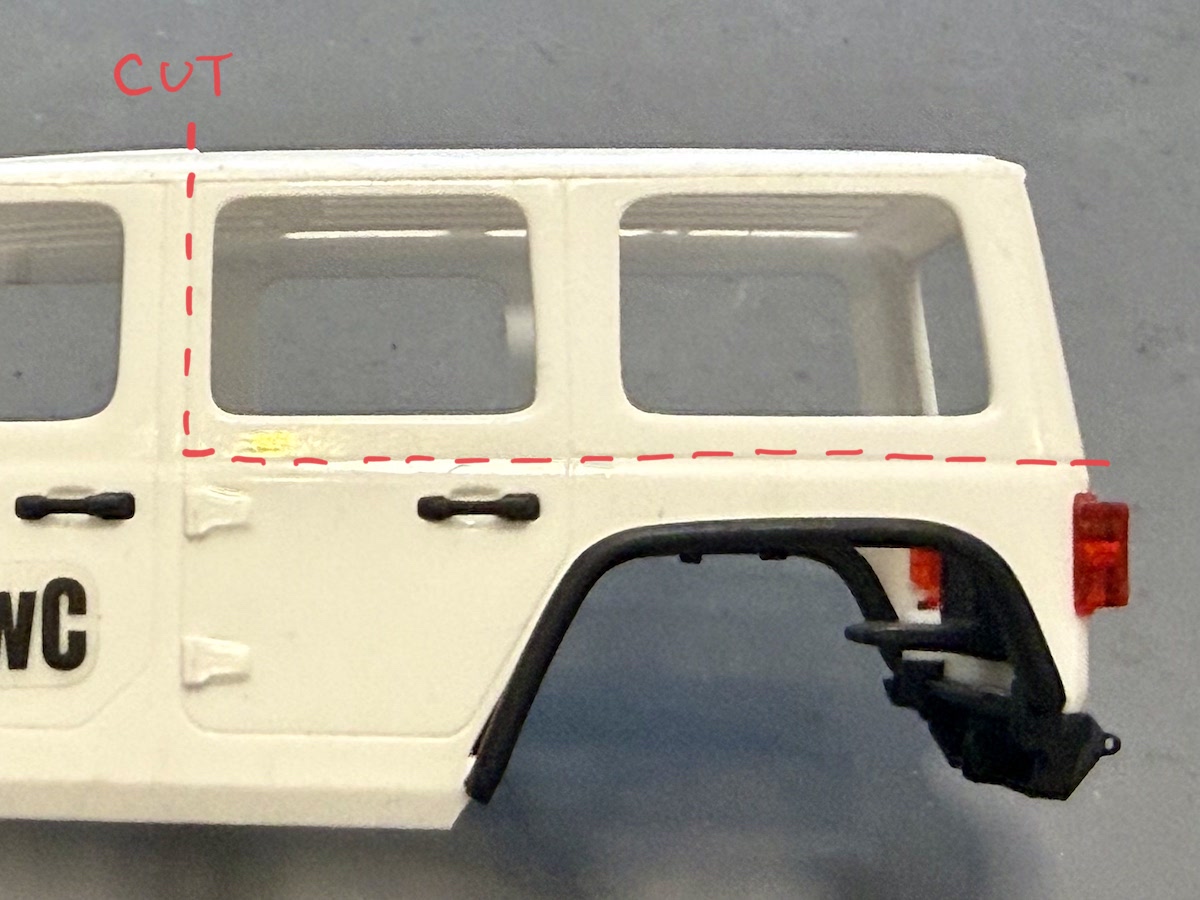
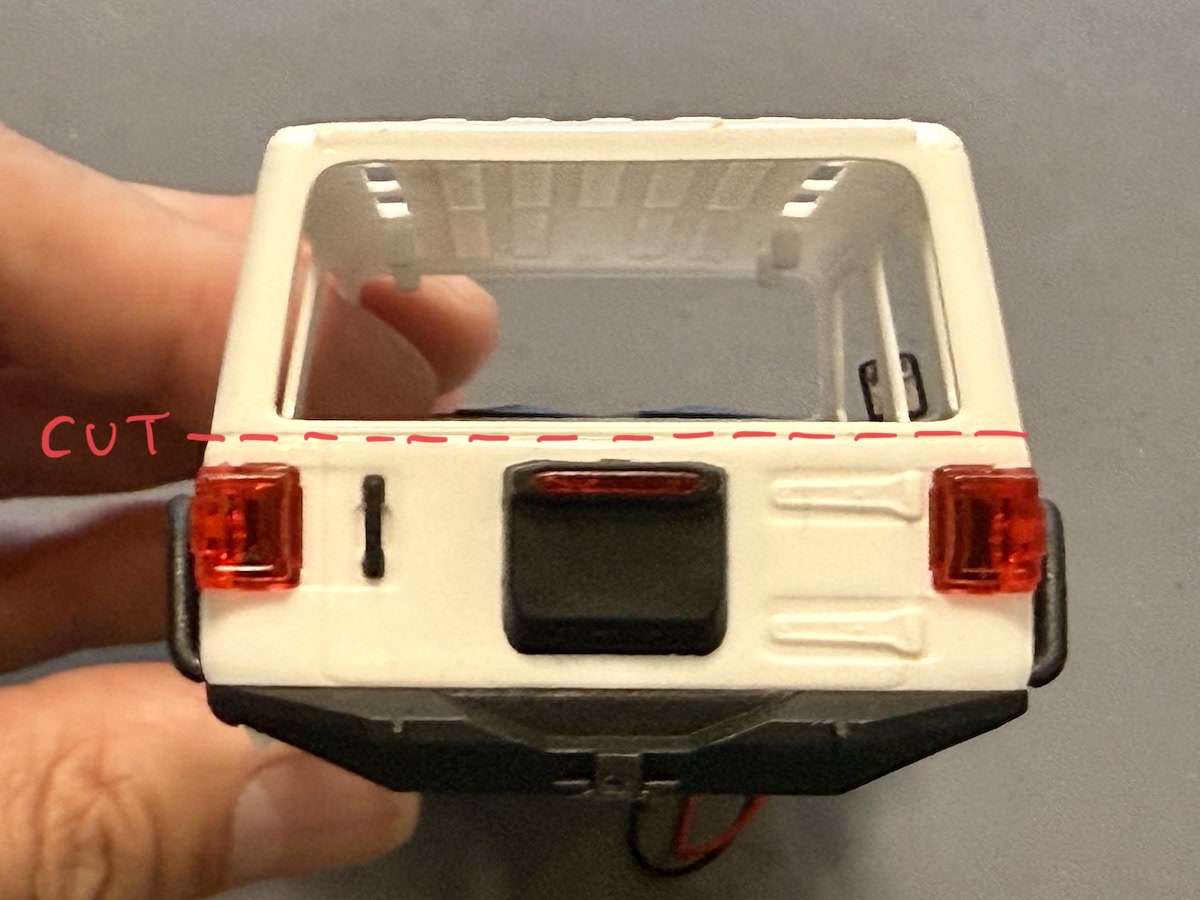
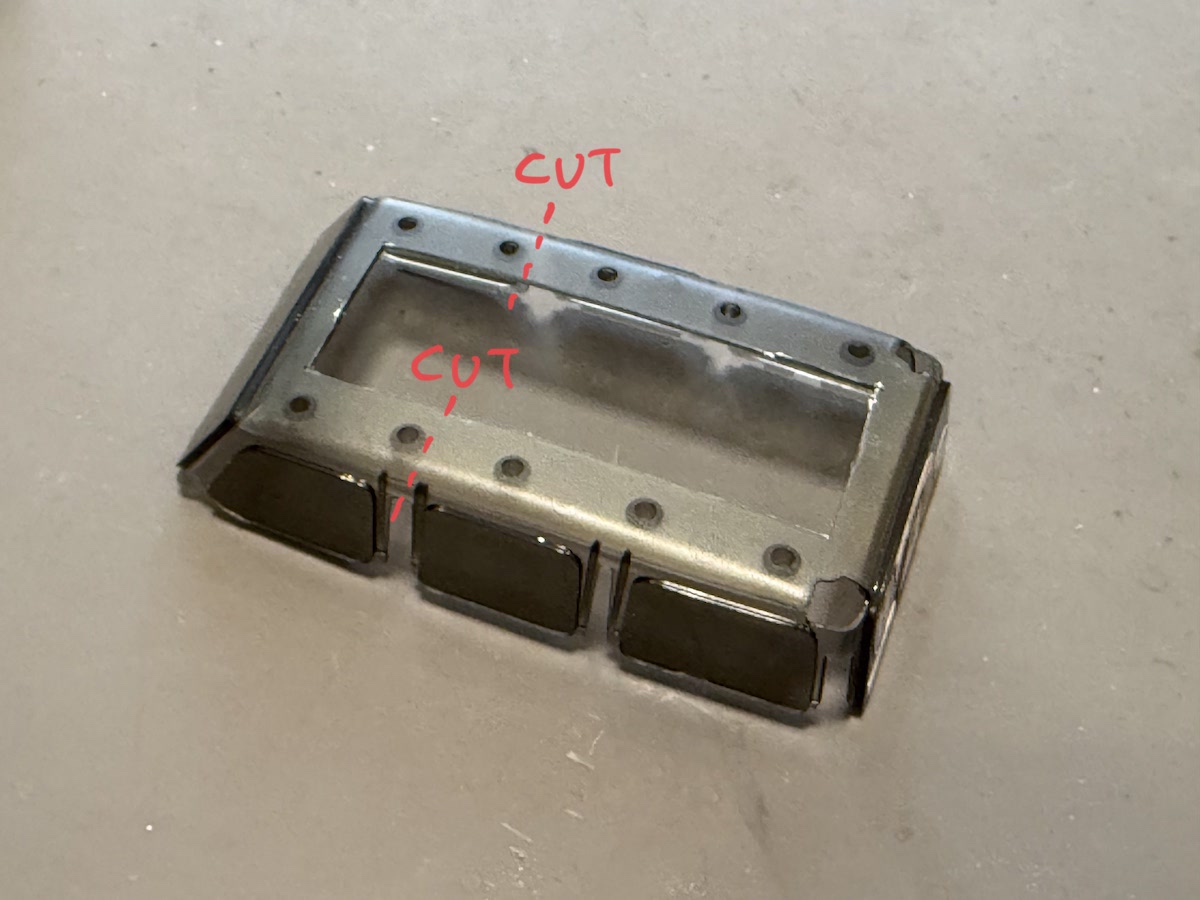
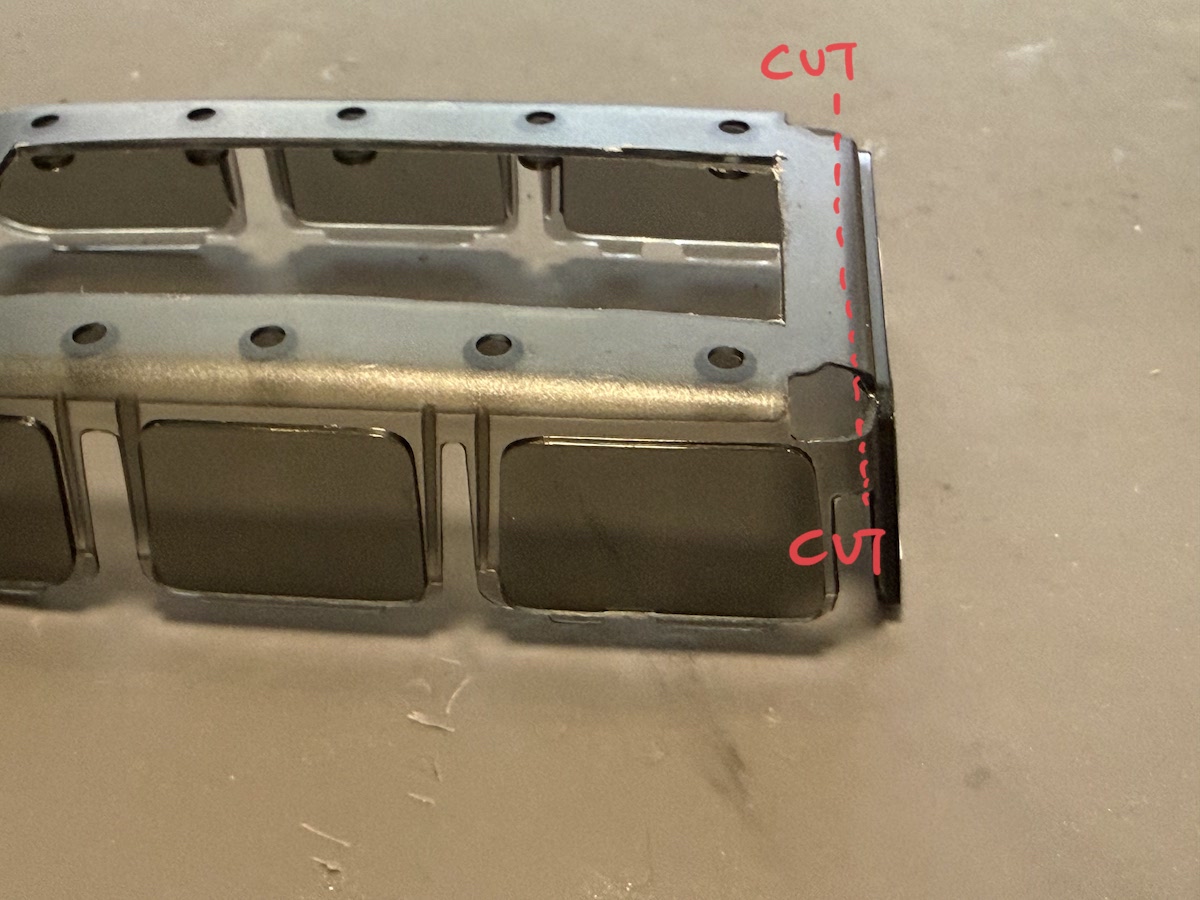
スケールアクセサリーとウインドウパーツを取り外したら、横側はリアドアの境目、下側はリアゲート上の境目の高さでカットします。
After removing the scale accessories and window parts, cut the body as follows:
Side: Cut along the seam between the rear door panels.
Bottom: Cut at the height of the seam above the rear gate.
フロントウインドウの加工 / Front Window Modification
2つ目のウインドウ取付穴のあたりでカットします。
Cut the front window piece around the area of the second window mounting hole.
リアウインドウの加工 / Rear Window Modification
リアウインドウの周りを少し残してカットします。
現物合わせで調整して下さい。
Cut the rear window piece while leaving a small border around the window frame.
Please adjust the fit by test fitting with the actual parts.
ボディへの取付について / Attaching to the Body
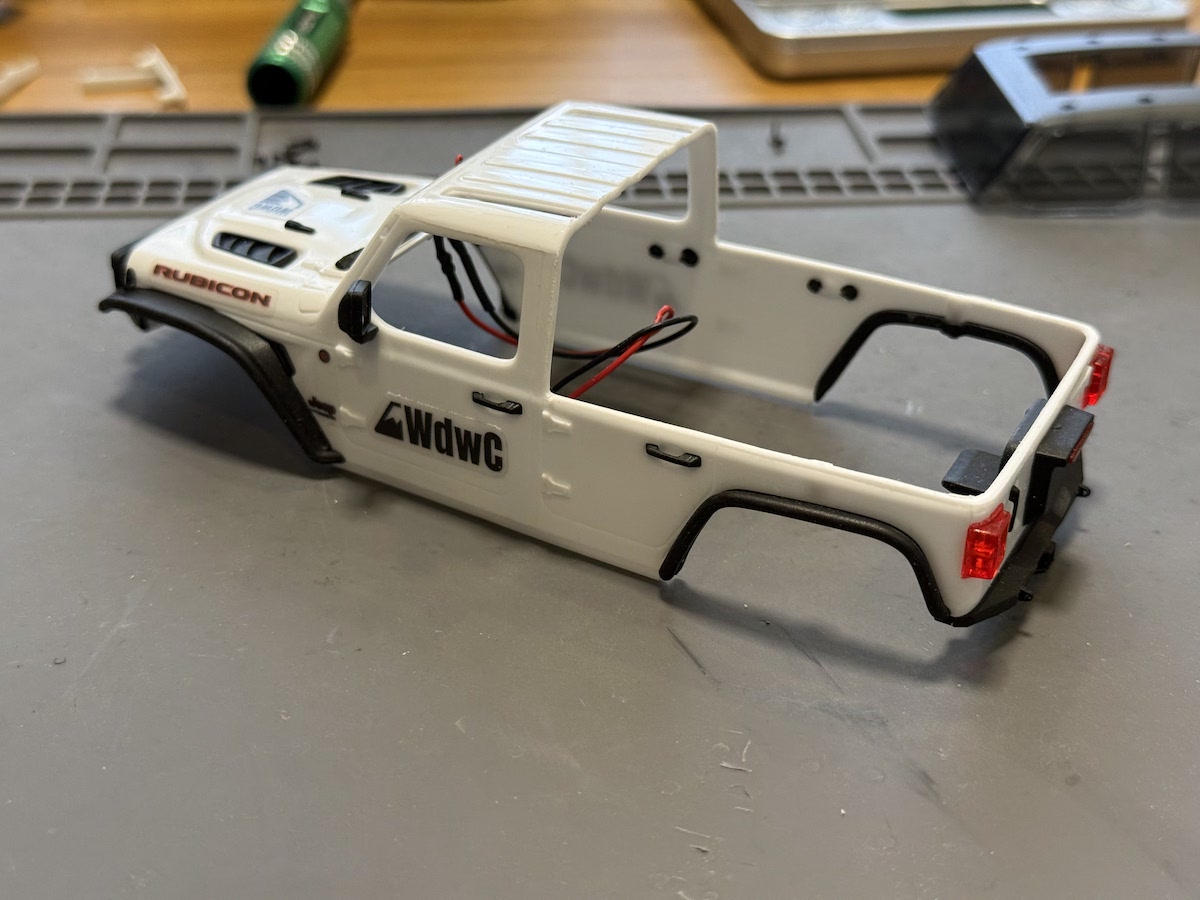
ここまでの加工が終わったら、ボディにフロントウインドウを取り付けます。
続いて、コンバージョンキットにリアウインドウを接着したら、ボディへと接着して完成です。
Once all the modifications above are completed:
– Install the front window onto the body.
– Glue the rear window to the conversion kit.
– Glue the conversion kit to the body.
Installation is now complete.
ご購入はこちら

SCX30 Wranglerボディ用トラックコンバージョンキットは、WdwC RCオンラインストアで販売しております。
商品ページはこちら
SNSではブログに書いていないこともほぼ毎日投稿しています
チェック & フォローよろしくお願いします
インスタもXも@gegezo821です